Learn how to add an image to your website with our step by step guide.
STEP 1:
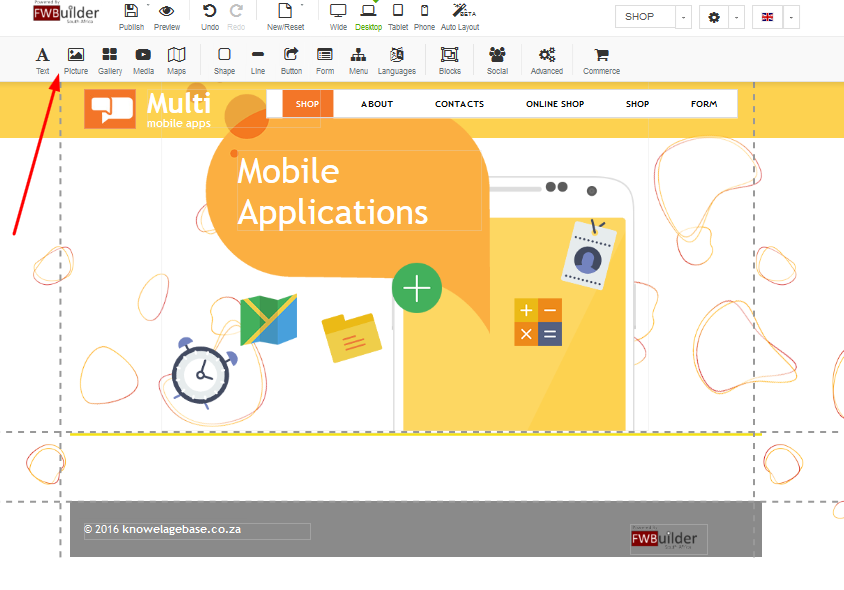
In order to add an image to your website - click on the "picture" icon and drag to the desired spot on your website where you would like our image to be displayed:
STEP 2:
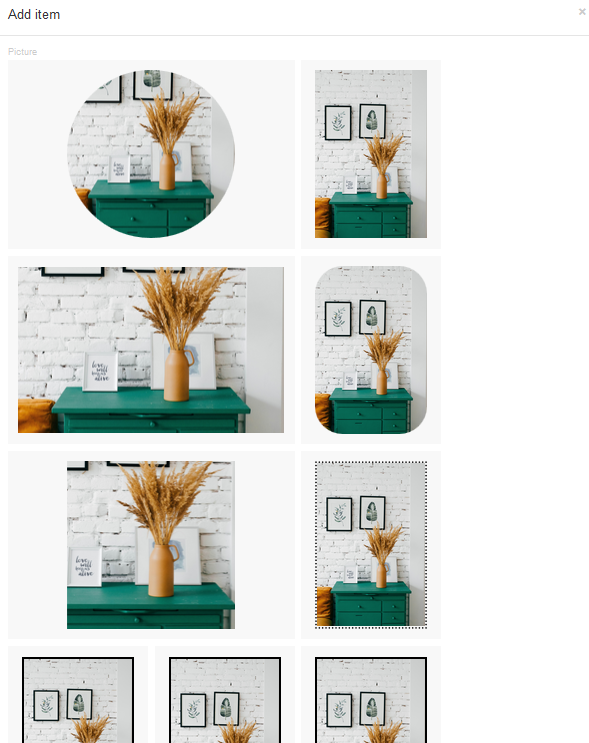
A block will open called "Add item" - you will see that you have a few options of different types of images - select the image layout you would prefer:
STEP 3:
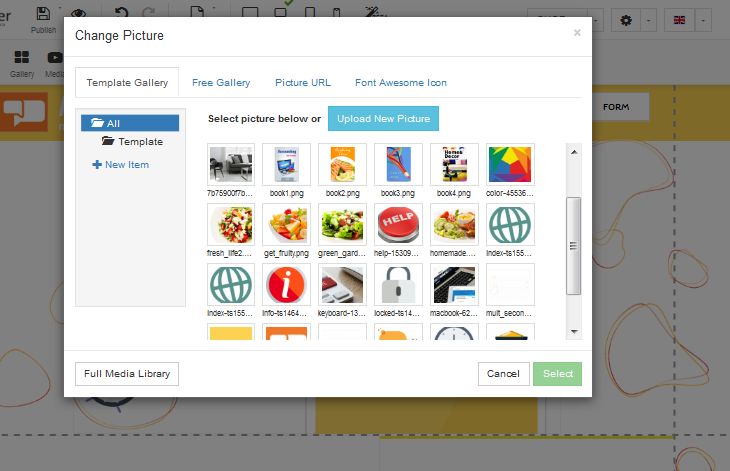
Once you have selected the image type a box will appear whereby you will be able to upload your image:
STEP 4:
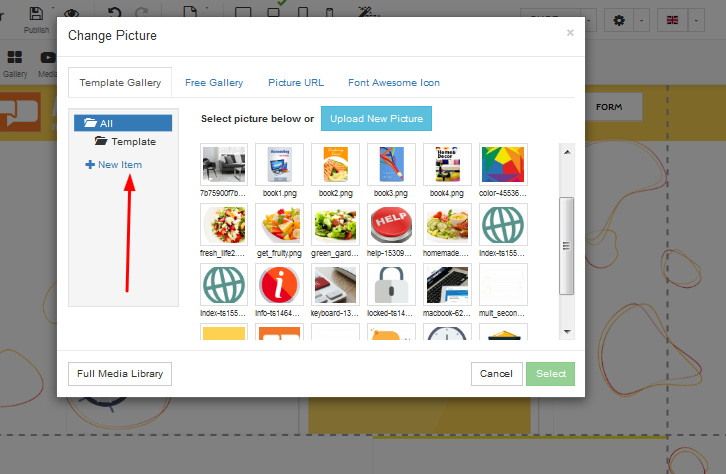
On the left-hand side under all, there is a button for "New Item" - if you wish to upload a variety of images under one category, you will be able to do this in this section:
STEP 5:
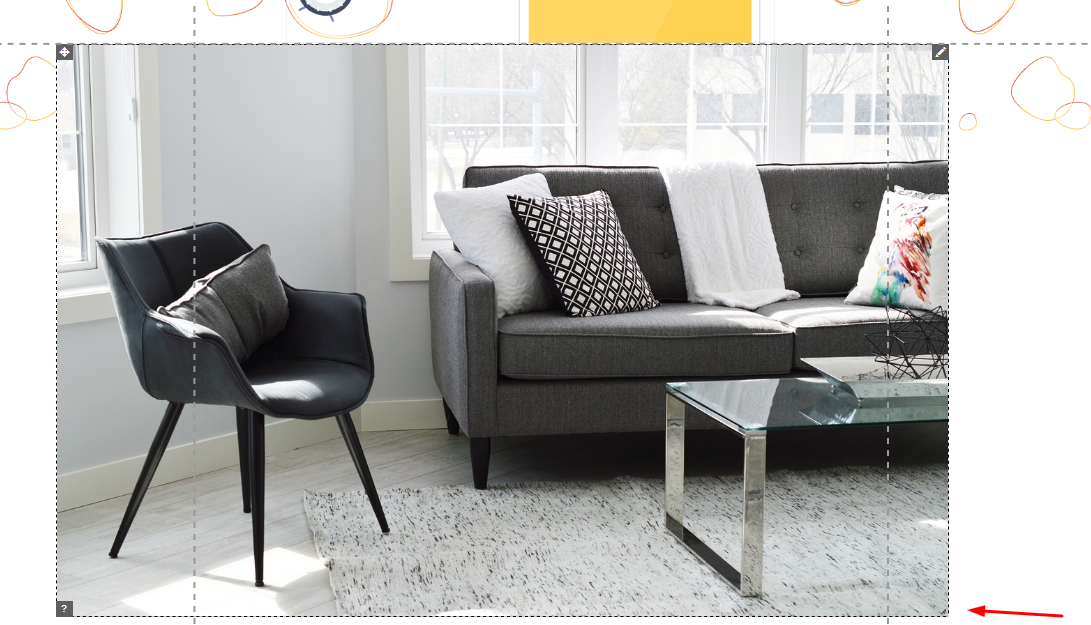
In order to make your images larger or smaller, you need to click on the bottom right hand corner. To make larger click on the corner and drag down, to make smaller click on the corner and drag up - you will discover that you can stretch images this way too:
STEP 6:
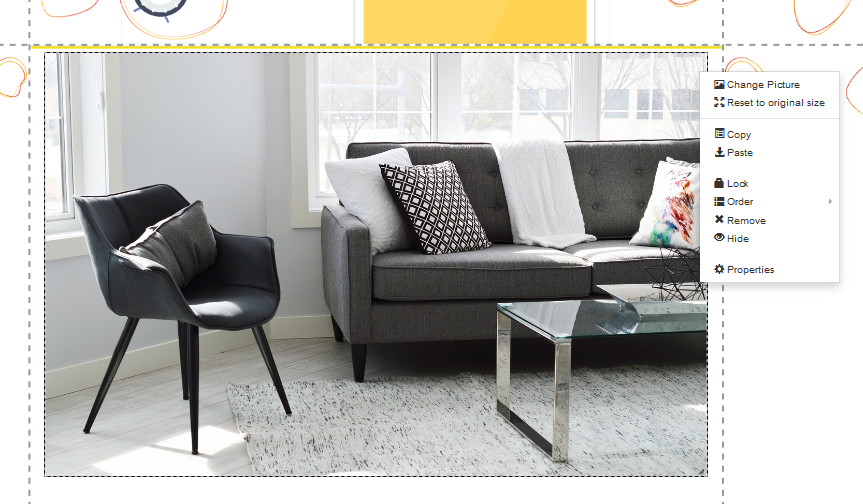
In order to link your images, you need to right-click and select properties:
STEP 7:
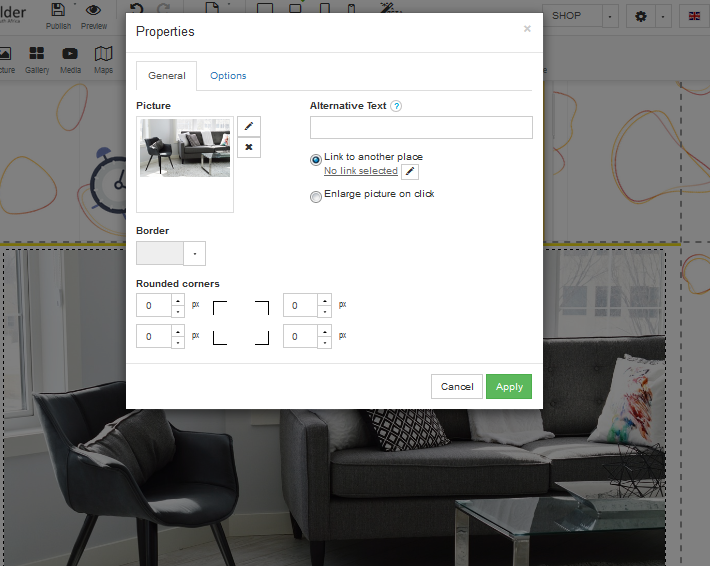
Under the picture, you are able to edit the image by uploading a different image if you are not satisfied with the current image.
You are able to add a border around your image by selecting the "Border" button and selecting a border from the drop-down menu.
In order to link the image, you need to select the "link to another place button"
We will show you how to link this in the next step:
STEP 8:
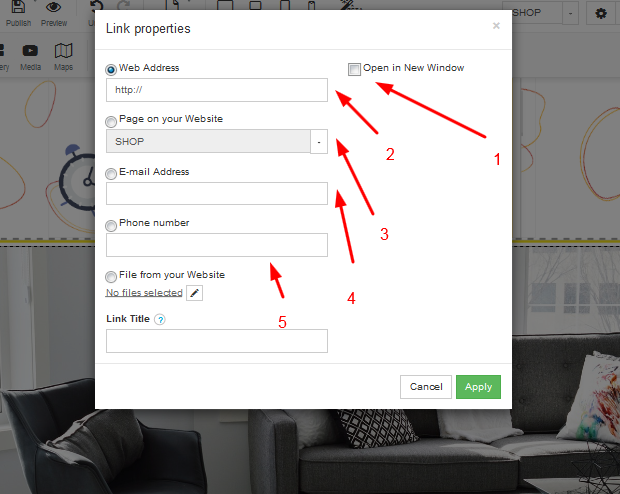
Once you click on the "link to another place button" - a box will appear called "Link properties" with four different options:
1. Should you wish for this option to open in a new window when your client clicks on the choice, you need to ensure you tick the "Open in New Window" button.
2. Web Address: If you would like the image to redirect the client to another website, you are able to add the website domain in this field
3. Page on your Website: Should you wish for the client to be directed to another page on your website after clicking on this button, you would need to select this field
4. Email Address: If you would like this client to send you an email via this image you would click on this link and ensure you add your email address in the field
5. Phone Number: Should you like the client to contact you via phone, you can click on this field
File from your Website: Your image can be linked to any file that is uploaded onto your website.
Click on apply:
STEP 9:
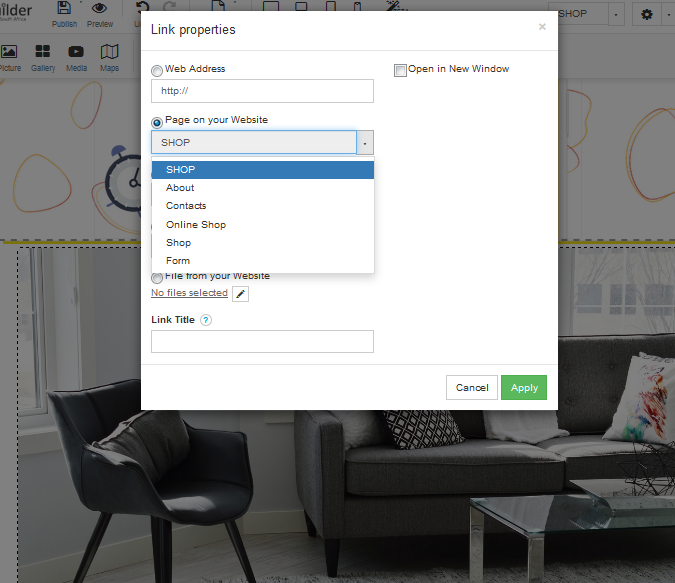
When linking your image to a page that is currently on your website, you would need to click on the "Page on your Website button" - here you will need to select the page you would like to have the image directed to:
STEP 10:
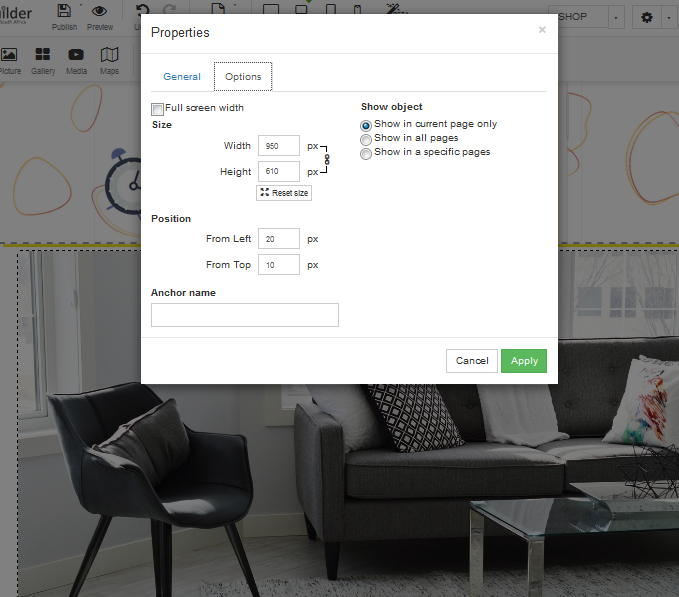
Under "properties" there is an options button - here you will be able to select the height and pixels.
There is also an option that asks you if you would like the images to be displayed on this page only, all pages or specific pages.
Remember once you have added an image and added the links to click on the save button to avoid losing any updates that you have done:
